Every year, thousands of homeowners suffer injuries from falls on dark outdoor stairs, unlit walkways, and uneven patio surfaces. A proper outdoor lighting safety guide provides the structural framework needed to eliminate nighttime hazards while turning your yard into an inviting evening retreat. By combining strategic deck step lighting, balanced color temperatures, and reliable power sources, you can ensure your outdoor living space is both secure and visually stunning.
| Key Takeaways –Edge Definition Prevents Falls: Mounting low-voltage recessed lights in the lower third of deck step risers (2 to 4 inches from the tread) illuminates step edges without creating blinding glare. –Hardwired Beat Solar for Critical Safety: While solar lights offer easy, wire-free installation for sunny spots, 12-volt low-voltage hardwired systems deliver reliable dusk-to-dawn brightness regardless of weather or season. –Layering Creates Depth: Combining ambient overhead festoon string lights, task-oriented step lights, and accent spotlights creates a cohesive scene that eliminates dark ‘black holes.’ –Color Temperature Matters: Warm white light (2700K–3000K) builds a cozy ambiance for seating areas, while cooler tones (3500K–4000K) enhance foliage and clarify pathways. –Weatherproof Ratings Are Essential: Exposed outdoor fixtures require an Ingress Protection rating of IP65 or higher to withstand heavy rain, dust, and freezing temperatures down to -40°F. |
Understanding the Fundamentals of Outdoor Lighting & Design Principles
Effective landscape lighting balances human safety with visual beauty by directing light strictly where it is needed without exposing bare bulbs. To build a safe and attractive nighttime environment, lighting design relies on seven core principles: cohesion, depth, focal points, perspective, balance, visual comfort, and direction.
The Seven Principles of Professional Landscape Lighting Design
1. Cohesion: A well-lit yard should feel like one continuous panorama. Illuminating borders, pathways, and background elements prevents unlit ‘black holes’ that disrupt vision and create security risks.
2. Depth: Using high, medium, and low LED lumen fixtures across foreground, middle ground, and background areas establishes a three-dimensional visual field.
3. Focal Points: Strategic lighting directs the viewer’s eyes toward architectural features, specimen trees, water fountains, or gathering spaces.
4. Perspective: Fixture placement must be evaluated from multiple vantage points, including outdoor seating areas, property approaches, and interior windows looking out.
5. Balance and Symmetry: Distributing light evenly across left and right sides preserves natural landscape symmetry and structural architectural patterns.
6. Visual Comfort: Preventing harsh contrast and direct glare protects eye nerves from strain. Shielded optics and indirect light sources ensure comfortable navigation.
7. Quality and Direction: Choosing specific techniques—such as uplighting for drama, downlighting for natural warmth, and grazing for surface texture—defines the overall mood.
Mastering Basic and Advanced Lighting Techniques
- Path and Area Lighting: Staggering path lights on alternating sides of a walkway creates gentle pools of light that guide foot traffic naturally without creating an unnatural ‘runway’ look.
- Grazing: Positioning directional spotlights within 1 foot of a stone or brick wall accentuates rough architectural textures through high-contrast shadows.
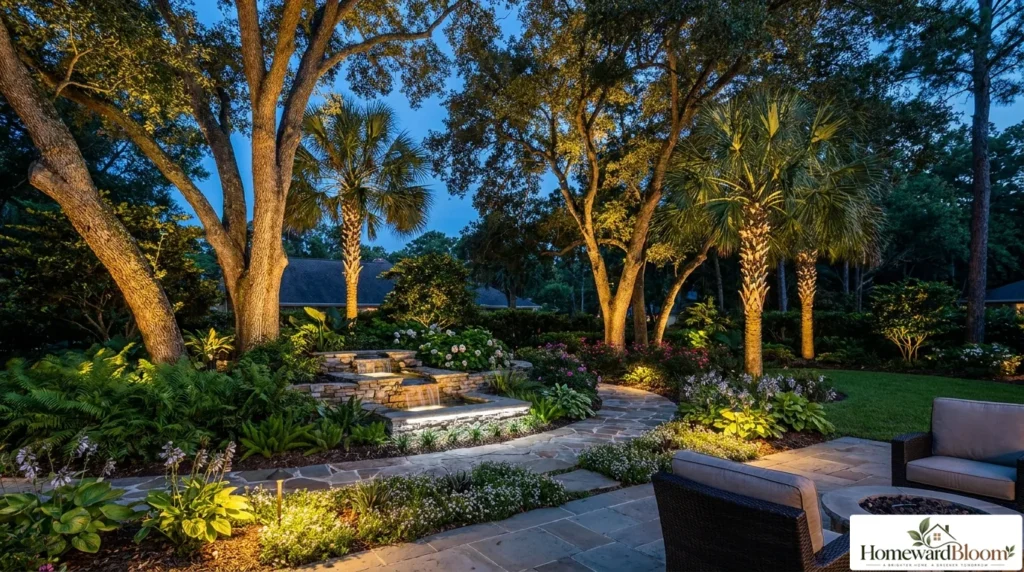
- Uplighting: Placing fixtures outside the drip line of trees casts light upward through foliage. Dense evergreen foliage requires tighter fixture spacing (5 feet on center), whereas deciduous trees use wider spacing (8 to 10 feet).
- Moonlighting (Downlighting): Mounting fixtures 25 feet or higher in trees angled downward at 45 degrees mimics natural moonlight, casting soft foliage shadows across broad gathering zones.
- Shadowing and Silhouetting: Projecting light onto a wall behind dense shrubs creates compelling silhouetted shapes, breaking up plain home siding.
Understanding Color Temperature: Warm vs. Cool Light
Color temperature is measured in Kelvin (K) and dictates whether a light source feels cozy or clinical. Most residential outdoor applications perform best between 2700K and 4000K.
- Warm White (2700K–3000K): Emits a soft, yellowish glow reminiscent of candlelight. Warm white enhances natural wood tones, red brick, and brown earth, making it ideal for patios, fire pits, and primary home entrances.
- Neutral White (3500K–4000K): Produces a balanced, crisp white light. Neutral white brings out the natural green tones of lawns, shrubs, and garden foliage, making it well-suited for walkways and security perimeters.
- Cool White / Daylight (4500K–6500K): Delivers a bright, bluish-white tone. While cool white highlights white marble and water features, excessive use in residential gardens can feel clinical or harsh.
Layering these color temperatures across your property adds visual texture. For example, pairing 2700K path lights around a seating bench with 3500K tree spotlights and a 4000K underwater light inside a pond creates subtle visual interest across the entire yard.
What Is the Difference Between Hardwired Low-Voltage and Solar Outdoor Lighting?
Hardwired low-voltage lighting systems run on a 12-volt current powered by a central transformer, delivering reliable, bright, year-round illumination regardless of cloud cover. In contrast, solar lights rely on integrated photovoltaic panels to charge internal batteries during daylight hours, offering quick, wire-free placement that remains dependent on daily sunlight levels.
Comparing Solar, Low-Voltage (12V), and Line-Voltage (120V) Systems
| Feature | Solar Powered | Low-Voltage (12V) | Line-Voltage (120V) |
| Installation Difficulty | Simple DIY (no wiring) | Moderate DIY (safe low voltage) | High (requires licensed electrician) |
| Operating Cost | $0 after purchase | Very low (efficient LED) | Moderate to high |
| Light Output & Lumens | Low to moderate | Moderate to high (customizable) | Very high (flood illumination) |
| Reliability | Weather & season dependent | 100% consistent dusk-to-dawn | 100% consistent dusk-to-dawn |
| Typical Lifespan | 1–3 years (battery degradation) | 15–20 years (25,000–50,000 hrs) | 15–20 years |
| Ideal Application | Small gardens, sunny borders | Most residential decks & yards | Large commercial properties |
| Weatherproofing | IP65 recommended | IP65 to IP67 required | IP65 + conduit enclosure |
While solar path lights offer an affordable starting point for garden beds receiving direct sunlight, they struggle in shaded areas, cloudy climates, and short winter days. Hardwired low-voltage (12V) systems draw power directly from your home’s electrical grid through a step-down transformer, ensuring steady, glare-free light every single night. Low-voltage LED systems consume up to 80% less energy than traditional halogen bulbs and operate far below the threshold for severe electrical shock.
How Do You Install Low-Voltage Deck Step Lights Safely?
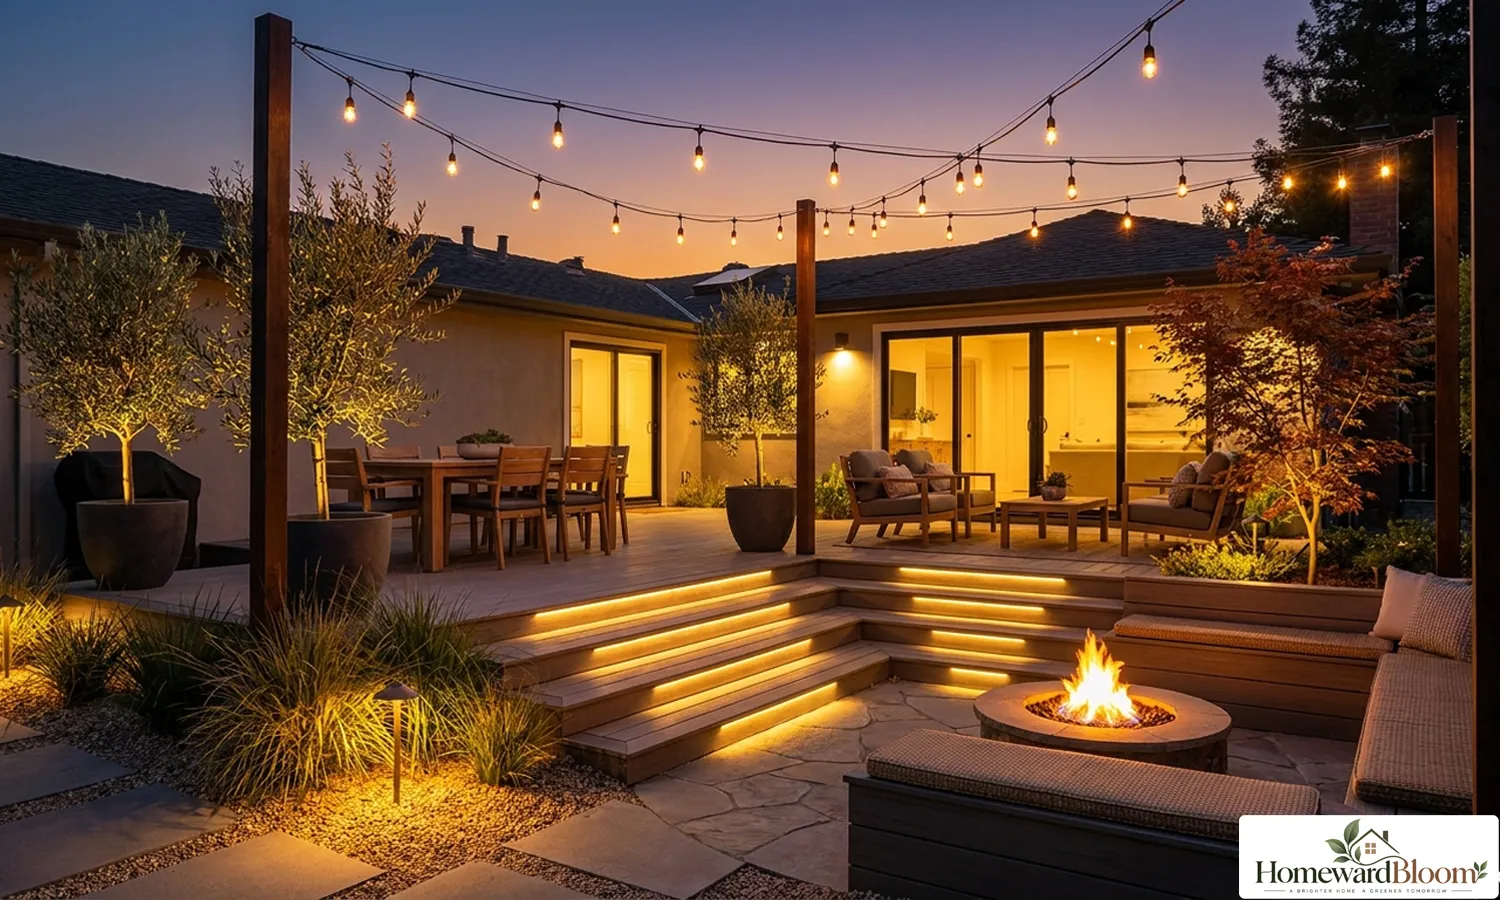
Installing low-voltage deck step lights requires mounting downward-facing fixtures in the lower third of step risers, connecting them with direct-burial landscape wire, and powering them through a GFCI-protected, transformer-controlled circuit. Proper step lighting defines tread edges, eliminates dark shadows, and prevents tripping errors on outdoor stairs.
Step-by-Step DIY Installation Guide for Deck Stairs
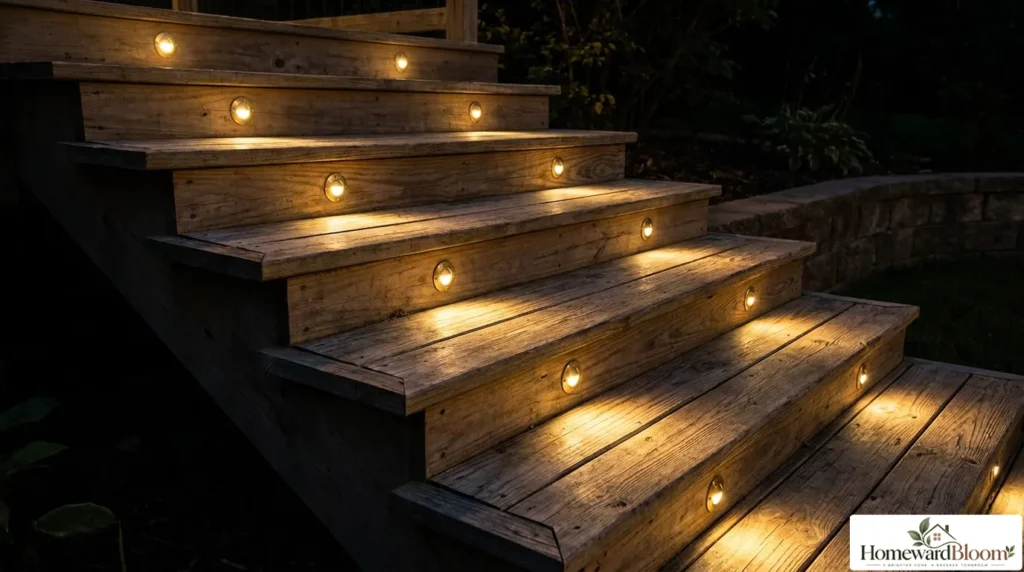
1. Plan Fixture Placement: Measure stair riser heights and tread depths. For multi-step runs longer than four stairs, place a fixture on every single step. Position step fixtures in the lower third of the riser—typically 2 to 4 inches above the walking tread surface—to illuminate the step edge without aiming light into ascending or descending eyes.
2. Calculate Transformer Capacity: Sum the total wattage of all planned LED fixtures and add a 20% safety buffer. For example, if your deck uses twelve 3-watt step lights (36 watts total), select a transformer rated for at least 45 to 50 watts. Choose a transformer equipped with an integrated photocell sensor or digital timer.
3. Run Direct-Burial Wire: Route 12-gauge or 14-gauge UV-resistant direct-burial landscape wire along the inside of the stair stringer or beneath deck joists. Secure the cable away from foot traffic zones and mechanical fasteners.
4. Mount Fixtures: Drill precision mounting holes into each wood or composite riser. Install recessed step fixtures so their lenses sit flush with or slightly behind the riser surface, protecting them from shoe scuffs and furniture movement.
5. Make Weatherproof Connections: Join fixture lead wires to the main supply cable using gel-filled silicone wire nuts or piercing weatherproof connectors. Ensure all splices resist moisture intrusion.
6. Connect and Test: Plug the transformer into a Ground Fault Circuit Interrupter (GFCI) outdoor outlet mandated by the National Electrical Code (NEC). Inspect the stair run after dark to confirm uniform light spread and zero glare.
How Far Apart Should Outdoor Festoon Lights Be Spaced?
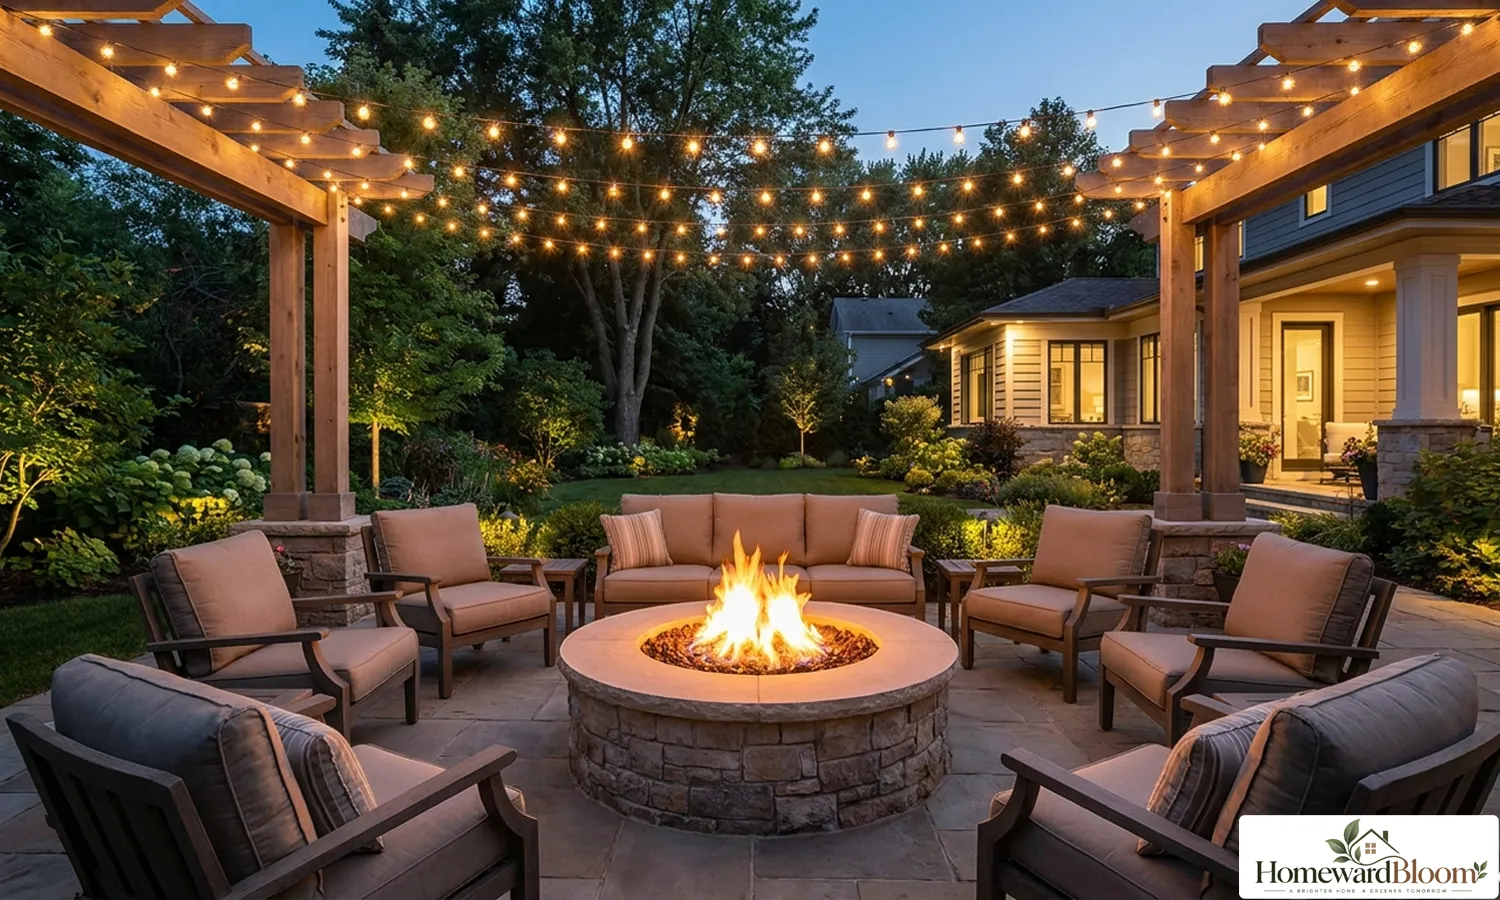
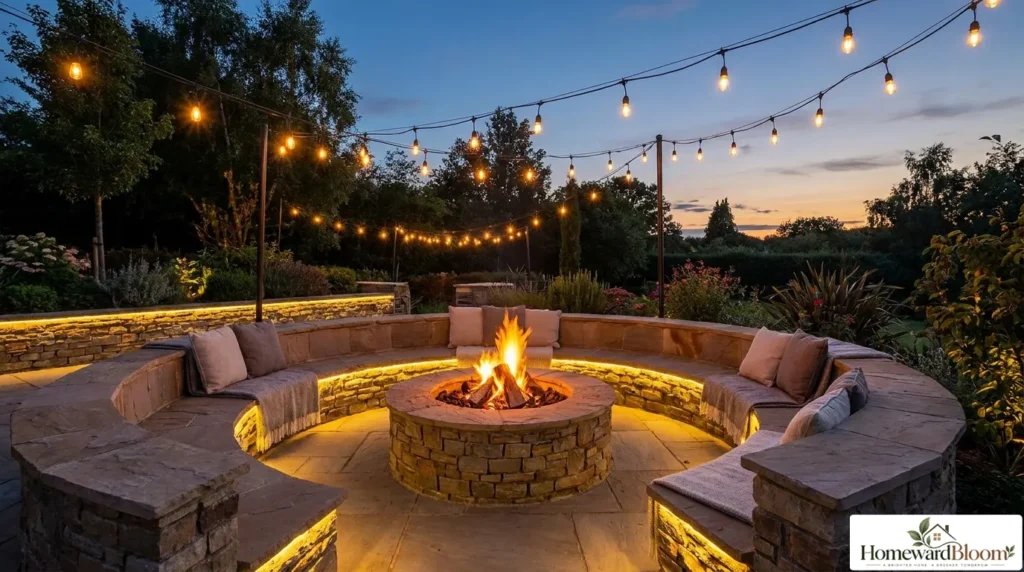
Outdoor festoon lights should be spaced 2 to 3 feet apart along the main cable, with fixing points installed every 20 to 25 feet (6 to 8 meters) when hung without a support wire. For spans exceeding 25 feet, a stainless steel guide wire cable must be installed to support the weight of the lights and prevent sagging or wind damage.
Fire Pit and Patio Illumination: Balancing Warmth, Ambiance, and Safety
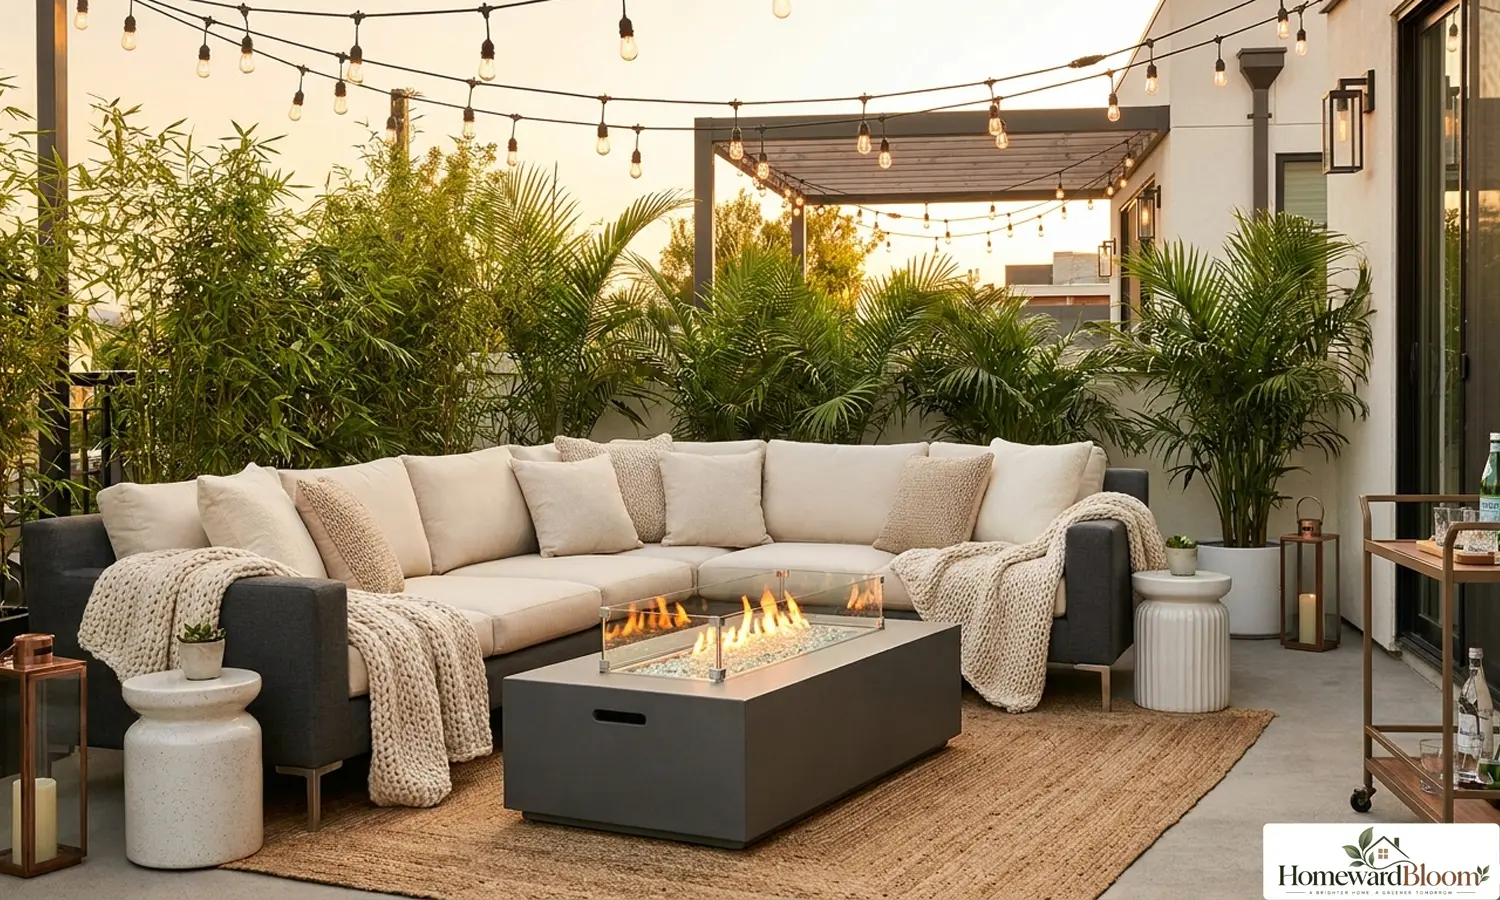
Illuminating an outdoor fire pit area requires layering subtle perimeter task lights with low-level accent lighting to prevent trip hazards around hot surfaces, chairs, and stone retaining walls. Relying solely on the open flame of a fire pit leaves dark shadows across nearby walking paths and patio furniture.
Frequently Asked Questions (FAQ)
Deck step lights require 10 to 50 lumens per fixture. The primary objective of stair illumination is edge definition rather than flood lighting. Excessively high lumen output creates harsh glare that blinds descending users, whereas lower lumen levels outline step treads comfortably without straining human vision.
Yes, 12-volt low-voltage outdoor lighting systems are completely safe for DIY installation. Because the system uses a transformer to step down standard 120-volt household current to a harmless 12 volts, there is no risk of dangerous electrical shock during wiring, cable laying, or fixture adjustment.
The ideal height for mounting recessed deck step lights is 2 to 4 inches above the walking tread surface, positioned in the lower third of the vertical riser. Mounting fixtures low down projects light downward across the tread edge while preventing direct bulb glare into the eyes of people descending the stairs.
Solar lights often experience reduced performance during winter due to shorter day lengths, lower sun angles, and potential snow cover on photovoltaic panels. In cold climates, hardwired low-voltage LED systems offer vastly superior reliability, providing consistent dusk-to-dawn illumination regardless of weather conditions.
Outdoor landscape lighting fixtures should carry an IP rating of IP65 or higher. An IP65 rating guarantees that the fixture housing is completely dust-tight and protected against low-pressure water jets from any direction, ensuring reliable year-round operation through heavy rain, snow, and garden sprinkler exposure.
Conclusion
A comprehensive outdoor lighting system protects your family and guests by clearly defining stair edges, walkways, and patio boundaries while enhancing your home’s nighttime curb appeal. To achieve maximum safety and long-term performance, install hardwired 12-volt low-voltage step lights positioned in the lower third of deck risers, balance warm 2700K color temperatures around seating zones, and choose weather-resistant IP65-rated brass fixtures powered through GFCI-protected circuits.