If you have ever dreamed of stepping out into your backyard and harvesting baskets full of fresh, vibrant vegetables, you are not alone. Gardening is a deeply rewarding hobby, but it can also be frustrating if you do not start with the right foundation. This is where raised garden beds come into play. Raised beds are a fantastic upgrade from traditional in-ground gardens because they provide better soil control, improved drainage, and a much easier working height.
However, many beginners and even seasoned gardeners make critical errors when designing, building, and maintaining their raised beds. From choosing the wrong lumber to picking the worst location, these simple mistakes can severely limit your harvest and cost you time and money. If you want to bypass the trial and error, you are in the right place.
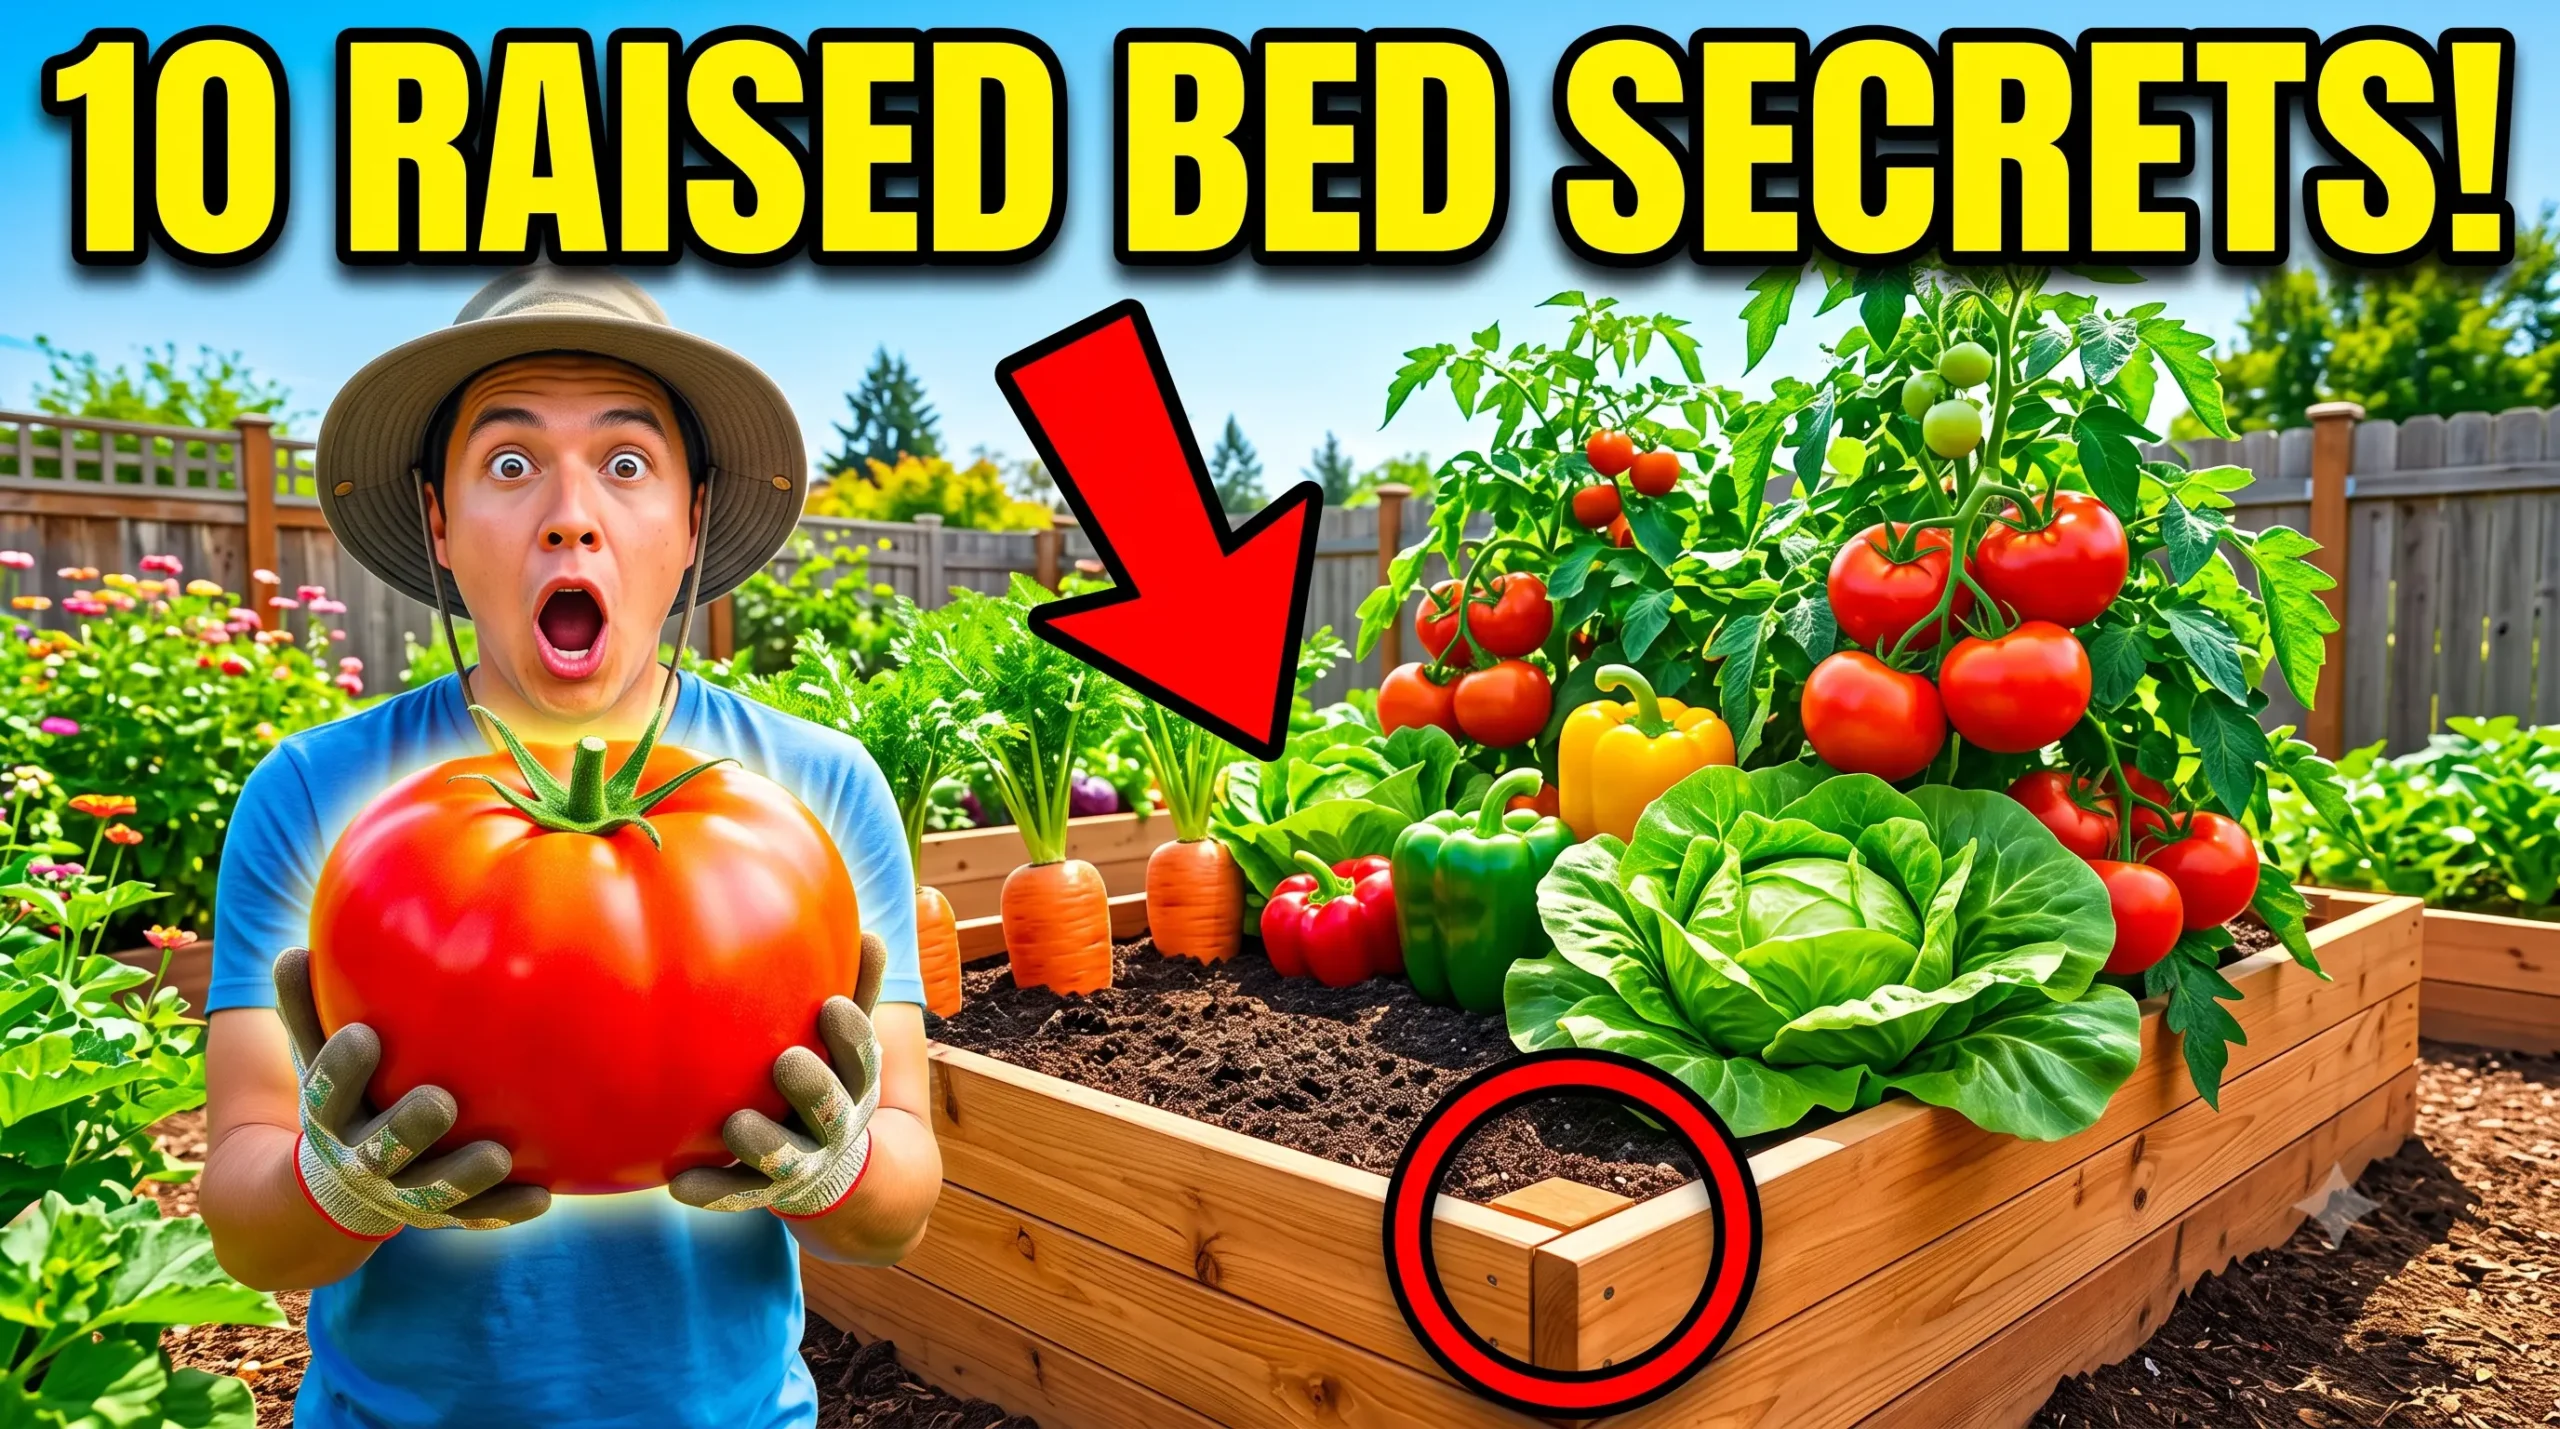
Here are ten closely guarded secrets to building a thriving raised garden bed that will yield a bigger, healthier harvest year after year.
1. Use the Right Materials and Dimensions
When you head to the hardware store, it is very tempting to grab the cheapest wood available. One of the most common mistakes is purchasing 1-inch thick boards to save money. Unfortunately, these thin boards simply cannot handle the pressure of wet soil and will quickly warp, rot, and break apart. Instead, you should invest in 2-inch thick boards, preferably made from naturally rot-resistant woods like cedar or redwood. You should strictly avoid pressure-treated lumber and old railroad ties; railroad ties are treated with creosote, a highly toxic chemical that can leach straight into your vegetable crops. To build a sturdy frame, you will want to use galvanized deck screws and install corner braces to hold everything securely together.
Size is equally important. A raised bed should be at least 10 inches tall, though 12 to 18 inches is highly recommended. This depth gives root vegetables like carrots and heavy feeders like tomatoes plenty of room to stretch out. Just as importantly, never build a garden bed wider than 4 feet. The average human arm can only reach about two feet comfortably. If your bed is wider than 4 feet, you will be forced to step into the garden to reach the center, which aggressively compacts the soil and damages plant roots.
2. Embrace Hugelkultur to Save Money
Filling a deep raised bed entirely with premium bagged soil can empty your wallet very quickly. A brilliant, cost-effective alternative is the “Hugelkultur” method. Hugelkultur is a centuries-old technique that involves building a living, self-sustaining ecosystem right inside your planter by using decomposing wood and organic matter.
To build a Hugelkultur raised bed, you fill the space in very specific layers. First, make up the bottom 40 percent of your bed using large logs, which act as a heavy foundation. Next, add a layer of sticks and small branches to fill up the next 20 percent, providing necessary aeration. After that, add a 25 percent layer of green vegetation, such as grass clippings and fallen leaves. Top that off with 10 percent nutrient-rich compost, and finally, add a 5 percent layer of high-quality topsoil for your planting surface.
As the wood at the bottom breaks down over the years, it acts exactly like a giant sponge. It will soak up water during heavy rains and slowly release it to your plants during dry periods. It also continuously releases nutrients, which greatly reduces your need for synthetic fertilizers.
3. Mix the Ultimate Soil Recipe
If you decide not to use the Hugelkultur method, you must still prioritize your soil quality. Cutting corners by using cheap dirt or native clay will lead to a very disappointing harvest. Good soil is arguably the single most important ingredient for a successful garden.
For a standard raised bed, an ideal “soil recipe” blends different materials for the perfect balance of drainage and nutrition. A highly recommended mix consists of 60 percent topsoil, 30 percent compost, and 10 percent soilless potting mix. If you do not have good topsoil, a 50-50 mix of compost and soilless growing medium works wonderfully.
If you are reusing old potting soil from last year, you do not need to throw it away. You can easily revitalize it by blending in fresh potting mix and adding organic nutrients. A great recharging formula is to add 1/4 cup of slow-release granular organic fertilizer and 3 cups of an organic container booster mix for every square foot of your garden.
(For more details on soil health, you can visit the USDA Natural Resources Conservation Service.)
4. Maximize Yields with Square Foot Gardening
Row planting is a technique designed for large agricultural tractors, not for backyard raised beds. In a raised bed, creating walking paths between rows is a massive waste of precious space. Instead, you should adopt the square foot gardening method, where you plant by area rather than by rows.
Start by mentally dividing your raised bed into a grid of 1-foot by 1-foot squares. When you look at the back of a seed packet, completely ignore the “row spacing” recommendation and only look at the “seed/plant spacing” number. To figure out how many plants fit in one square foot, divide 12 inches by the plant spacing number, and then multiply that result by itself. For example, if a radish requires 3 inches of spacing, you divide 12 by 3 to get 4. Multiply 4 by 4, and you will see that you can plant 16 radishes in a single square foot. This intensive planting method yields a massive harvest in a fraction of the space.
5. Implement Strategic Companion Planting
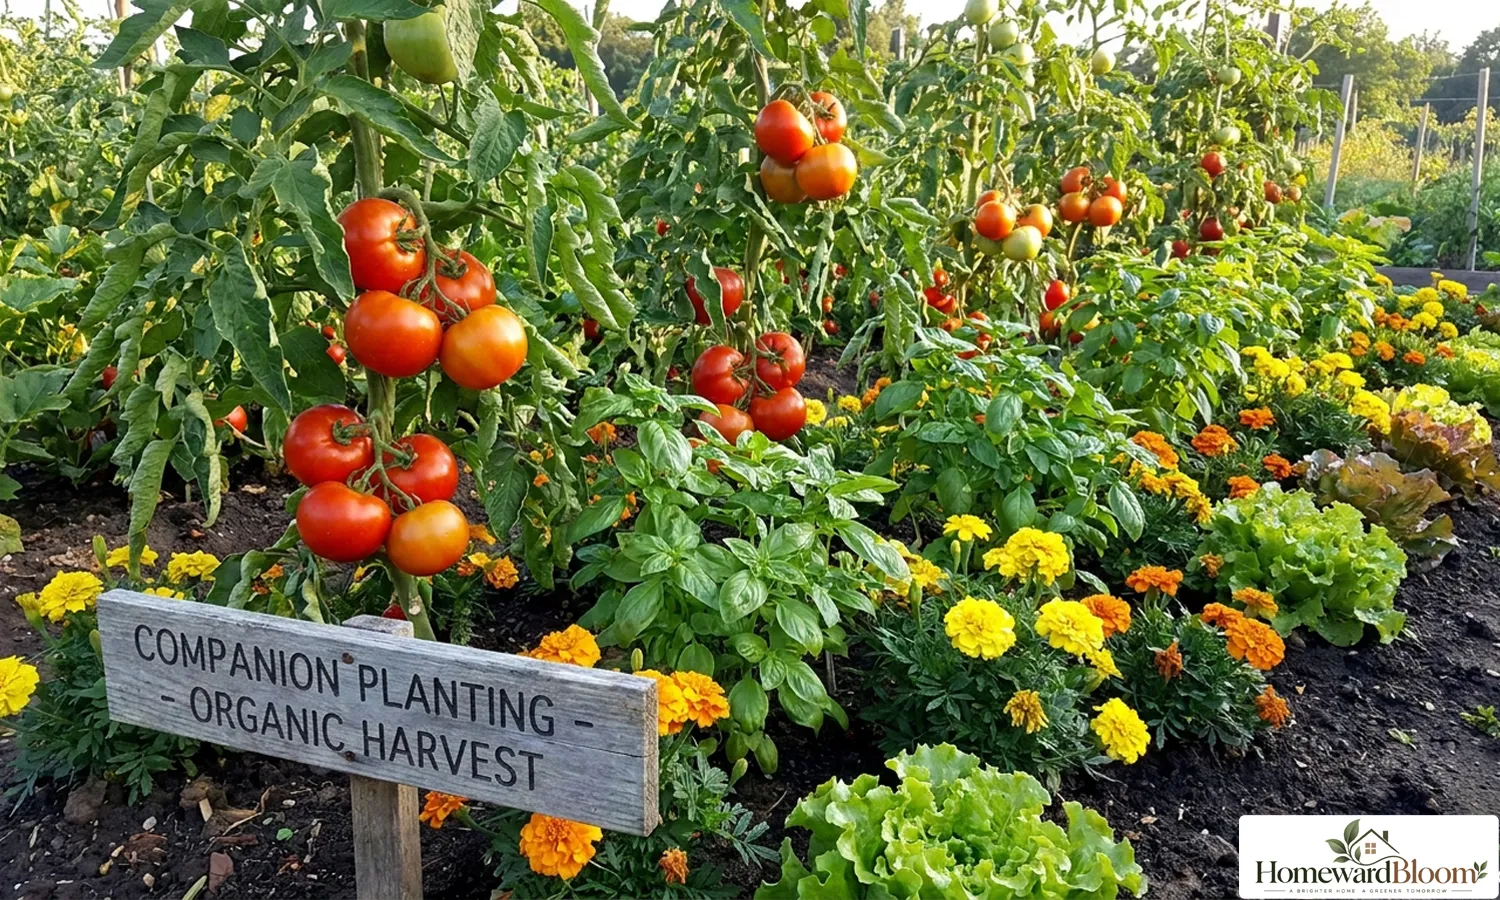
Plants have friends and enemies, and placing the right crops next to each other—a practice known as companion planting—can drastically improve your harvest. Companion planting helps to optimize space, deter pests, and improve soil health.
One of the most famous examples is the “Three Sisters” method, which combines corn, beans, and squash. The corn stalks serve as a natural vertical trellis for the beans to climb. The beans, in turn, pull nitrogen from the atmosphere and fix it into the soil to feed the heavy-feeding corn. Finally, the large leaves of the sprawling squash act as a living mulch, shading the soil to retain moisture and block out weeds.
You can also use companion planting for pest control. Marigolds release compounds into the soil that kill harmful root nematodes, while planting garlic offers natural antifungal properties to ward off soil-borne diseases. Just remember to avoid bad pairings; for instance, do not plant basil near cucumbers, and keep dill far away from your carrots.
6. Take Advantage of Vertical Trellising
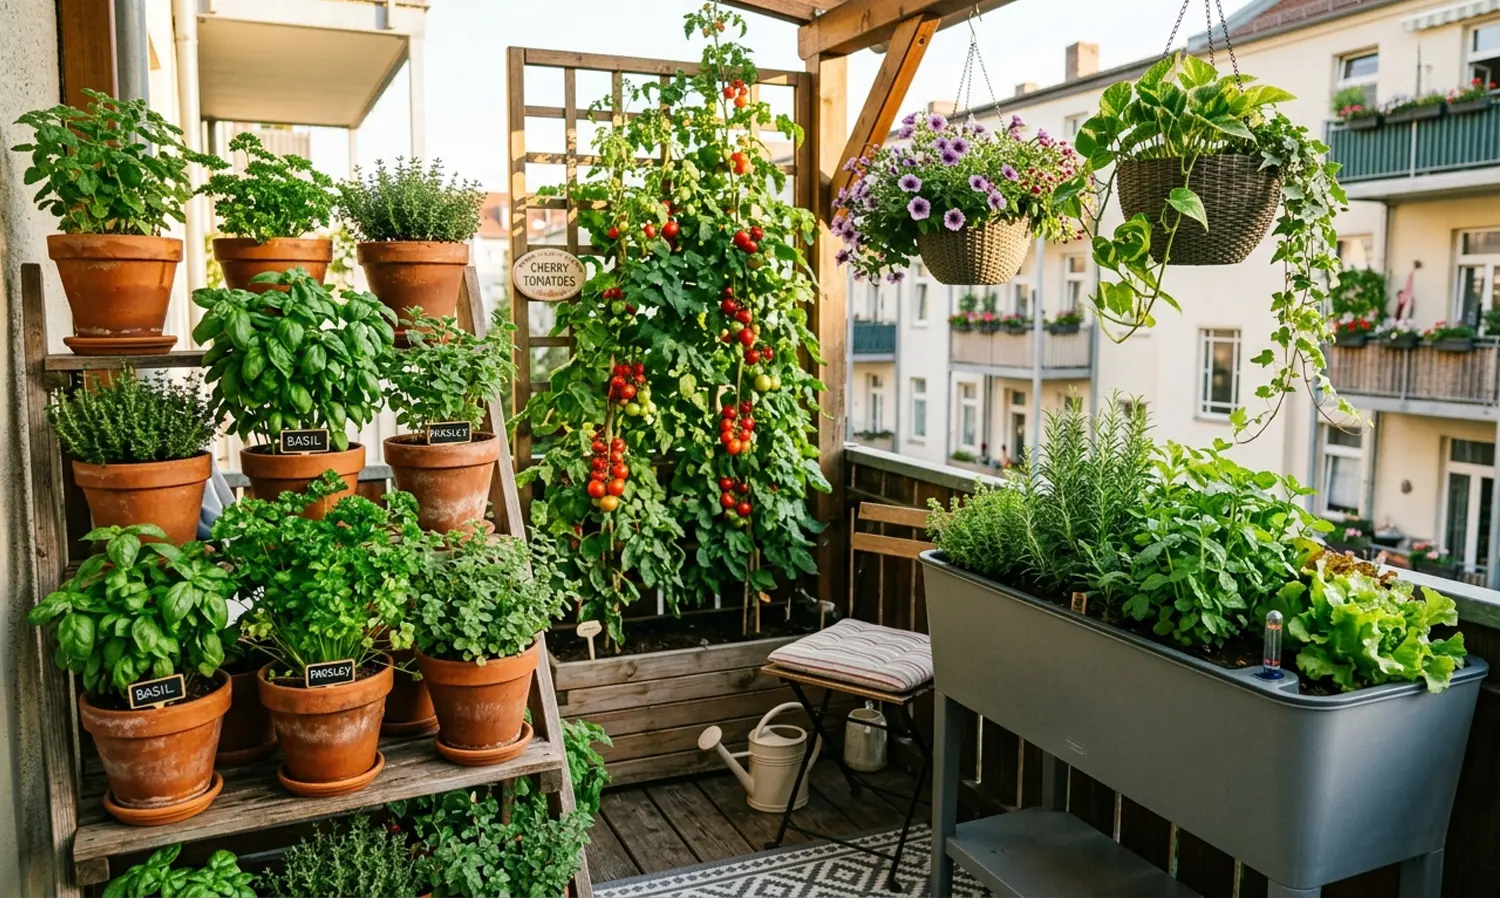
A common mistake new gardeners make is letting vining plants run wild across the top of their raised beds. Crops like cucumbers, peas, and indeterminate tomatoes can easily take over a small garden and smother other plants.
To prevent this and save space, you must install trellises and grow your vines vertically. Vertical gardening allows you to pack more plants into a small area and dramatically improves air circulation around the plant leaves. Better airflow keeps the foliage dry, which heavily reduces the risk of fungal diseases like powdery mildew. Using an extra-tall, strong tomato cage or a sturdy arch trellis will keep your garden tidy and make harvesting much easier.
7. Build Strong Defenses Against Wildlife
There is nothing more heartbreaking than walking out to your garden only to find that wildlife has eaten your entire harvest overnight. Wild animals are smart, and once they discover a high-quality food source, they will keep coming back. You must install your protections before you even put seeds in the ground.
For rabbits, install a simple 2-foot tall galvanized metal fence with closely spaced wires at the bottom. Rabbits rarely jump higher than two feet, but they will chew through cheap plastic fencing, so metal is a must. For deer, you will need a heavy-duty fence that is at least 7 feet tall, as deer are incredible jumpers. Alternatively, deer will not jump over a barrier if they cannot see the landing area on the other side, so building a solid wall that is at least 5 feet high will also keep them out. If groundhogs are your primary enemy, leave the top two feet of your fence loose and “floppy.” When the groundhog tries to climb, the fence will bend backward under its weight, dropping the animal safely back to the ground. Finally, cover your vulnerable berries with high-quality, UV-stabilized bird netting.
8. Master Your Layout and Leveling
Before you fill your raised garden beds with heavy soil, you must ensure that they are perfectly level. If you place a bed on a slope, water will pool at the lower end, causing uneven plant growth, poor drainage, and severe soil erosion. Use a carpenter’s level and adjust the ground underneath using paver sand or gravel.
Location is just as vital. Most vegetables require a minimum of 6 to 8 hours of direct sunlight every day, so you must place your beds in the sunniest part of your yard. To maximize this sun exposure, orient your rectangular beds so that the longest side runs from east to west, facing south. Also, make sure to leave at least 3 feet of walking space between multiple garden beds so you can easily maneuver a wheelbarrow and large garden tools.
(For help mapping your garden’s sunlight and hardiness, check the USDA Plant Hardiness Zone Map.)
9. Automate Your Irrigation Early
Watering by hand with a hose might be fun in the spring, but it quickly becomes a miserable chore during the blistering heat of mid-summer. One of the top mistakes gardeners make is failing to plan for irrigation.
Before planting, set up a watering system. You can use standard soaker hoses, a drip irrigation grid, or an automated watering manifold. Connecting these systems to an automatic hose timer allows you to water your garden deeply and consistently without lifting a finger. Also, consider the logistics of your layout; if your raised bed is too far from a water spigot, getting water to your plants will be an endless struggle.
10. Winterize Your Beds for Spring Success
The gardening season does not actually end when the first frost arrives. Winter is the perfect time to prep your beds for an explosive spring harvest. First, remove all dead and diseased plant debris to prevent pests and fungal spores from overwintering in your soil.
Next, top-dress the soil with fresh, weed-free compost and a thick 3 to 6-inch layer of organic mulch, such as straw or chopped leaves. This mulch insulates the soil, protects beneficial microbes, and prevents winter rains from washing your nutrients away. Alternatively, you can plant a winter cover crop, like crimson clover or winter rye, which will suppress weeds and pull vital nitrogen back into the dirt. Winter is also the best time to take a soil test so you can apply necessary amendments, like garden lime, giving them months to break down before spring planting begins.
Frequently Asked Questions (FAQs)
Yes, absolutely! You do not need to replace all of your soil every year. Simply top off the bed with fresh potting mix and recharge the existing soil by blending in granular organic fertilizer and an organic container booster mix.
Cedar and redwood are the best choices because they are naturally resistant to rot and insects. You should always use untreated wood and completely avoid pressure-treated lumber or old railroad ties, as they can leach dangerous chemicals into your food.
A raised bed should be a minimum of 10 inches deep, but 12 to 18 inches is highly recommended. Deeper beds provide superior drainage and allow you to grow deep-rooting crops like large carrots, potatoes, and full-sized tomatoes.
Yes. If you are placing a raised bed directly over a grassy lawn, you should first dig up as much grass and weeds as possible. Then, lay down a thick layer of cardboard or high-quality landscape fabric at the bottom of the bed before adding your soil; this will smother the remaining grass and prevent weeds from growing up into your vegetables.
Conclusion
Building a raised garden bed is an incredibly exciting step toward growing your own fresh, organic food. By choosing high-quality, non-toxic materials, mixing the perfect soil recipe, and utilizing smart techniques like square foot gardening and vertical trellising, you are setting yourself up for unprecedented success. Do not let pests, poor planning, or bad watering habits steal your joy. If you apply these ten secrets to your backyard layout, you will protect your investment, save money on materials, and ultimately enjoy a much bigger, healthier harvest for years to come.